I was giving a talk at Cambridge Camera Club earlier this week, and that gave me an excuse to make a consistent set of prints from some of my recent images. I thought I would have a go at mounting the images on to board rather than cutting window mounts—it was meant to save time, but fifty prints later I am not sure that it did. Still, I like the feel of the finished prints, particularly when displaying a set of them together. I started out printing onto A2 paper with crop marks printed to indicate the final 40x50cm size.
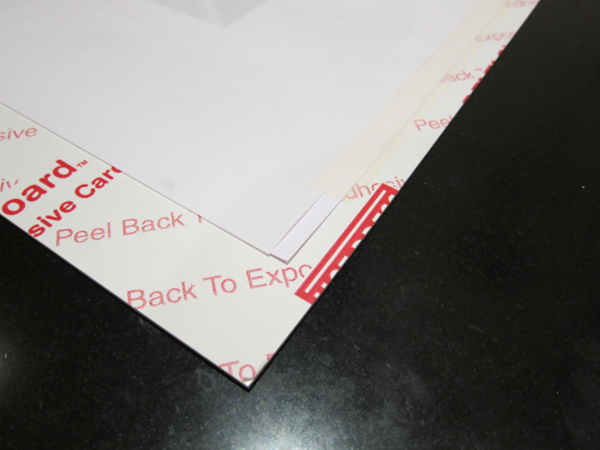 |
I then made a sandwich of a self adhesive mount board, the print itself, and a piece of laminating film. Lion Framing supply test samples of different films. I started out with the adhesive backing on the film and on the board, but taped the sandwich together along one short edge with masking tape. |
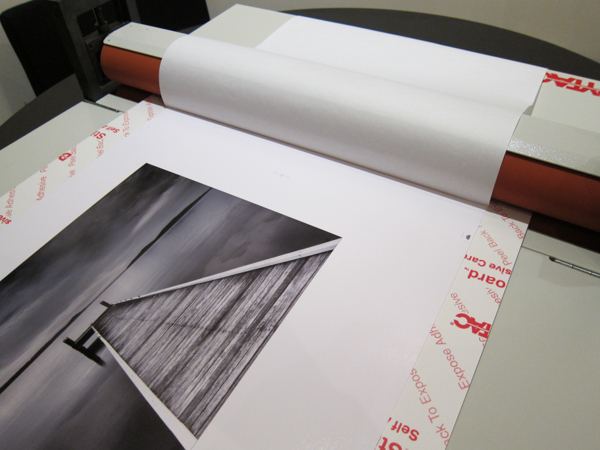 |
I flipped the laminating film over the top roler, started to peel off the backing, and fed it through the laminator. I was using a basic Drytac ML25 manual laminator (basically two heavy rubber-coated rollers with a handle). |
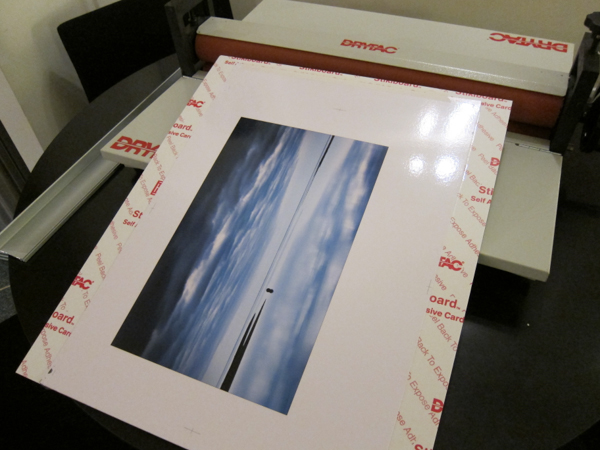 |
I now had the print covered with the laminating film for protection, but not yet stuck to the board. I went around the edge of the paper with a knife to cut into the adhesive backing of the mount board. |
 |
I flipped the laminated print over the top of the rollers... |
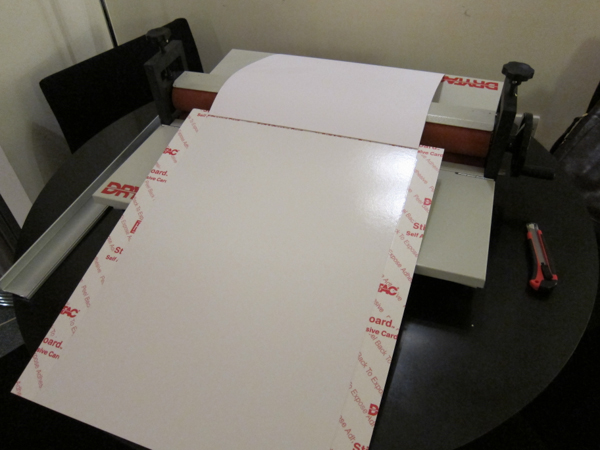 |
...and then peeled back the adhesive backing on the mount board before passing it through the rollers a second time to stick the print down onto the board. |
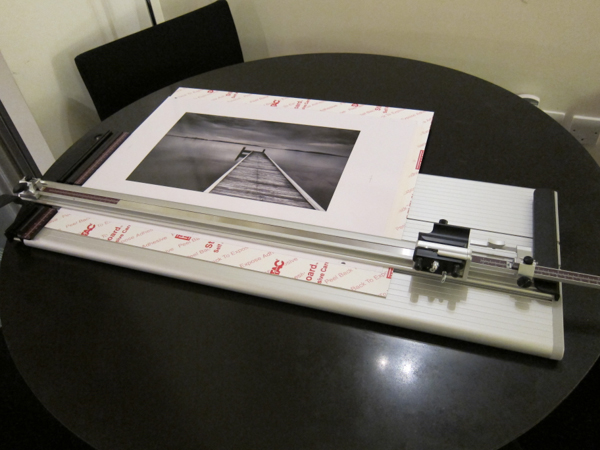 |
Finally, with everything stuck together, I used the crop marks to trim the print down to size. |
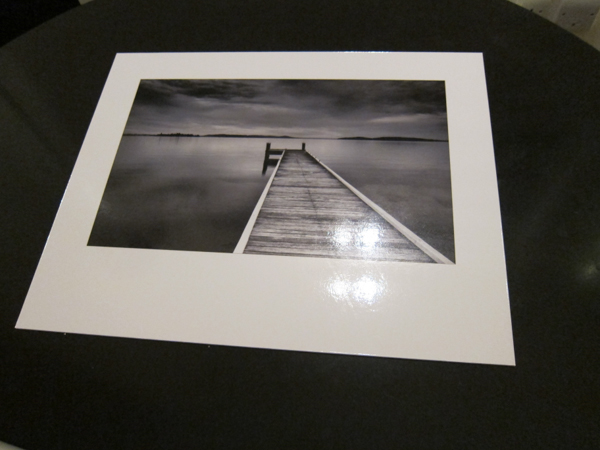 |
Here's one of the finished prints. |